


The basics of Video production that every creator should know
As a content creator, you’re more than just an on-screen personality. You have to play a lot of different roles, one of the most important being video producer. Creating high-quality videos definitely comes with a learning curve, so it’s important to master the basics early on.
These are the video production basics every YouTuber should know.
You should adjust your camera’s frame rate to 24fps
The majority of movies, music videos, commercials, etc. are shot at a frame rate of 24 fps. To shoot high-quality video, you should adjust your camera’s frame rate to 24 fps under settings. This means that, when you film, your camera will capture twenty-four frames every second.

Once you’ve adjusted your frame rate, you’ll also need to change your shutter speed, which should always be twice your frame rate. Ensure that your shutter speed is set to 1/48 to compensate for the 24 fps frame rate. If your DSLR doesn’t have 1/48 as a shutter speed option, then 1/40 or 1/50 will work just as well.
To get a good picture, manually white balance your camera.
Whenever you film, what you capture on camera won’t match exactly with the way things look in real life. The camera bases all of the colors it captures on its white balance, which it sets on its own automatically. However, you can get a better picture by manually white balancing your camera.
To white balance your camera, you’ll need something that’s pure white, such as a piece of paper or a poster board. Place it in front of the lens under the lighting setup you plan to use. Then, snap a picture. Finally, go into your camera’s settings and select the “manual” option under “white balance.”
You can light a video well with three light sources.
Good lighting is another key component of video production. The wrong lighting can cast your subject in shadows or completely wash it out. Thankfully, the film industry has developed a standard three-point structure you can utilize to properly light your videos. It’s simple and easy to follow.
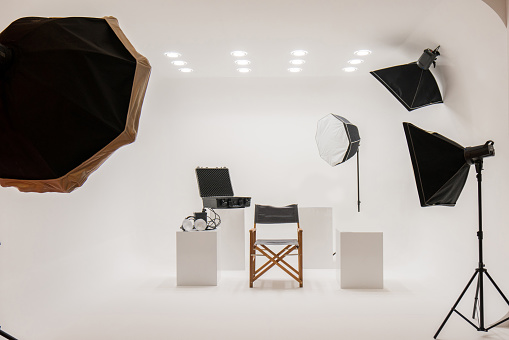
Start with a key light, which is pointed directly at your subject. It serves as the primary light source. Your key light might be a ring light or a studio light that’s shining directly on you. Next, add a fill light, which functions as a secondary source to fill in shadows. It should shine on your subject from a side angle. You might use a lamp or a smaller studio light. Finally, use a back light to illuminate your subject from behind. This light is meant to separate the subject from the background.
Using an external mic will improve your audio quality.
One of the biggest mistakes any new YouTuber could make is relying on their camera’s built-in microphone to capture good audio. This audio, however, is never of a very good quality. The only thing audio your camera captures should be used for is a scratch track to help you sync the video with an externally recorded audio file.
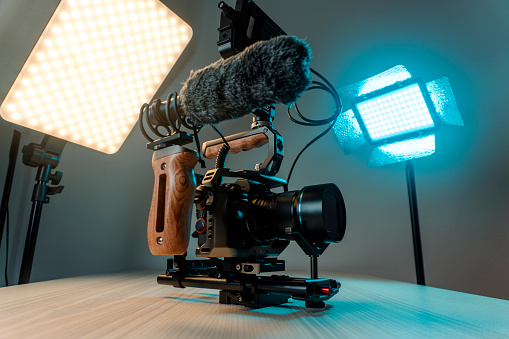
Instead, you should invest in an external microphone. Lavalier mics are an affordable option for many content creators. They’re easy to use because they clip right to your shirt. Alternatively, you might use a shotgun mic or a microphone that’s specially designed for filming YouTube videos.
Video production is simple once you break it down to the basics. Work on mastering camera settings, lighting, and audio to up your channel’s production value.
Related Posts