


The best way to plan your videos
The best way to plan your videos is to set up a content schedule. This plan will determine when your videos will be filmed, edited, and uploaded. It will also make it easier to streamline your video making process and help you save time.
Here’s how to create a content schedule.
1. Determine how far in advance you want to plan your videos.
Before you start making your content schedule, you need to get an idea of how much time you have to work with. If this is your first time planning content in advance, you might want to begin with month-to-month content schedules. Then, once you’ve found what works for you, then you can try planning for an entire season or a year.

You also need to decide how often you want to upload new videos as well as when you want to upload them. Using your current upload schedule as a jumping-off point, write down the dates new videos will be uploaded through the end of your content schedule.
2. Pinpoint any upcoming holidays or channel milestones.
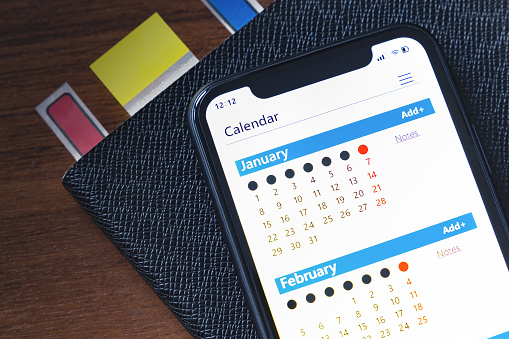
Next, compare the dates of your content schedule with your personal calendar. Make note of any major holidays that may influence your videos, such as Vlogmas before Christmas or back-to-school videos in September. Your birthday and any trips you have planned should also be taken into consideration.
You should plan for any projected channel milestones as well. For example, if there’s a high probability you’ll reach your next thousand subscribers halfway through your content schedule, then you should block out time to film a celebratory video. Other channel milestones may include your channel anniversary, awards, or upcoming merch launches.
3. Brainstorm enough video ideas to fit your projected schedule.
Once you’ve determined how many videos you’ll need, it’s time to start brainstorming. Pull inspiration from past successful videos, your favorite creators, or previous lists of video ideas you’ve made. Be sure to brainstorm ideas that coordinate with any holidays or milestones you identified previously.

Though you have a specific number of video ideas you need, consider how you could use these videos to set up future content. Since your videos will be planned in advance, you can utilize this time to launch a new video series. You should also plan a few backup ideas in case any of your main ideas don’t fit into your final schedule.
4. Map out an estimated timeline for each video idea.
Once you have a list of video ideas, map out an estimated timeline for each one. Be realistic as well as specific. Base your estimates off of how long it typically takes you to produce a video, not how much time you think you might be able to save. Write down the number of days it will take to transform each video idea into the final product.
Filming and editing time aren’t the only factors you need to consider, however. Depending on the kind of videos you create, you may need to consider order shipping time, product launch dates, or event dates. You might also factor in the time it will take to rent equipment, hire a crew, or get approval from a sponsor.
5. Organize these timelines to coordinate with your upload schedule.
The individual timelines you created for your video ideas in the previous step are pieces in the larger puzzle of your content schedule. Now, it’s time to organize them so that they coordinate with your upload schedule. Using the dates you plan to upload as anchor points, move the pieces of your puzzle around until you find what fits.
As you organize your content schedule, don’t think of each video timeline as blocks that have to be placed in a straight line. Rather, break them up and move the pieces around. For example, you might film a video three weeks before you edit and upload it. Think of ways to streamline your workflow, such as batch filming.
A content schedule is the best way to plan your videos because it keeps you organized. When you’re ahead of the game, you won’t have to worry about missing uploads or throwing videos together last minute.
Related Posts